
I’ve been itching to post this recipe since, well let’s see, two months ago when I quit posting cold turkey. September hit and I got so into fall recipes. I got into the kitchen, dug in and came up with a big backlog of all my favorite cozy, fall go-tos of the year. There are a few problems with this. The first is that I hand write all my recipes in a notepad while I’m working in the kitchen, so until I type up the posts, I only have one copy of the recipe (yes, I’m fully aware of how dumb this is and also that I need to catch up to the rest of the 21st century. I’m working on it). The second refers to the big news I promised you last week on Instagram and Facebook.
Drum roll please … Right after that pre-fall recipe development binge, I was offered a job straight out of a dream. A DREAM, you guys. Still in journalism, still in magazine, but finally back to food. In my new position, I get to work with food in the very literal sense (recipes and photography) in addition to writing about food. The opportunity was just too amazing to pass up, but here’s the deal, it came with a little catch. The catch being that I had to move to Vermont.

Whoa. Didn’t you live in Arizona? As in the Mexico border state that is an arid, unbearably hot desert? Yep. And you’re moving to Vermont? That Canada border state on the opposite side of the country that has terribly harsh, cold winters for a majority of the year? You betcha. Go big or go home I guess?
So as you can imagine, from the day I was offered the position until right now (and I’m sure the next few weeks even) has been an incredibly stressful, tiring, transitional period of my life. A time in which my recipe notebook got packed in the wrong bag or box (who even knows at this point). One I didn’t have access to for at least three weeks. Which taught me two things: 1) to get my act together and start typing my recipes and 2) taking a break is OK, and even if it’s a forced break, it’s probably really necessary. So any of you still sitting on the other side of this website, thanks for your patience. We will now continue our regularly scheduled programming.

And now, a quick run down on everything you need to know about these protein bars in a bullet-point list (a listilog? Not as good as “listicle.”).
- Inspired by Luna Bar (which recently went gluten free. Two thumbs up, but too much sugar—time to make them at home!)
- Gluten free, duh, but they don’t have to be if you don’t want them to depending on your oat/crisped rice cereal selection
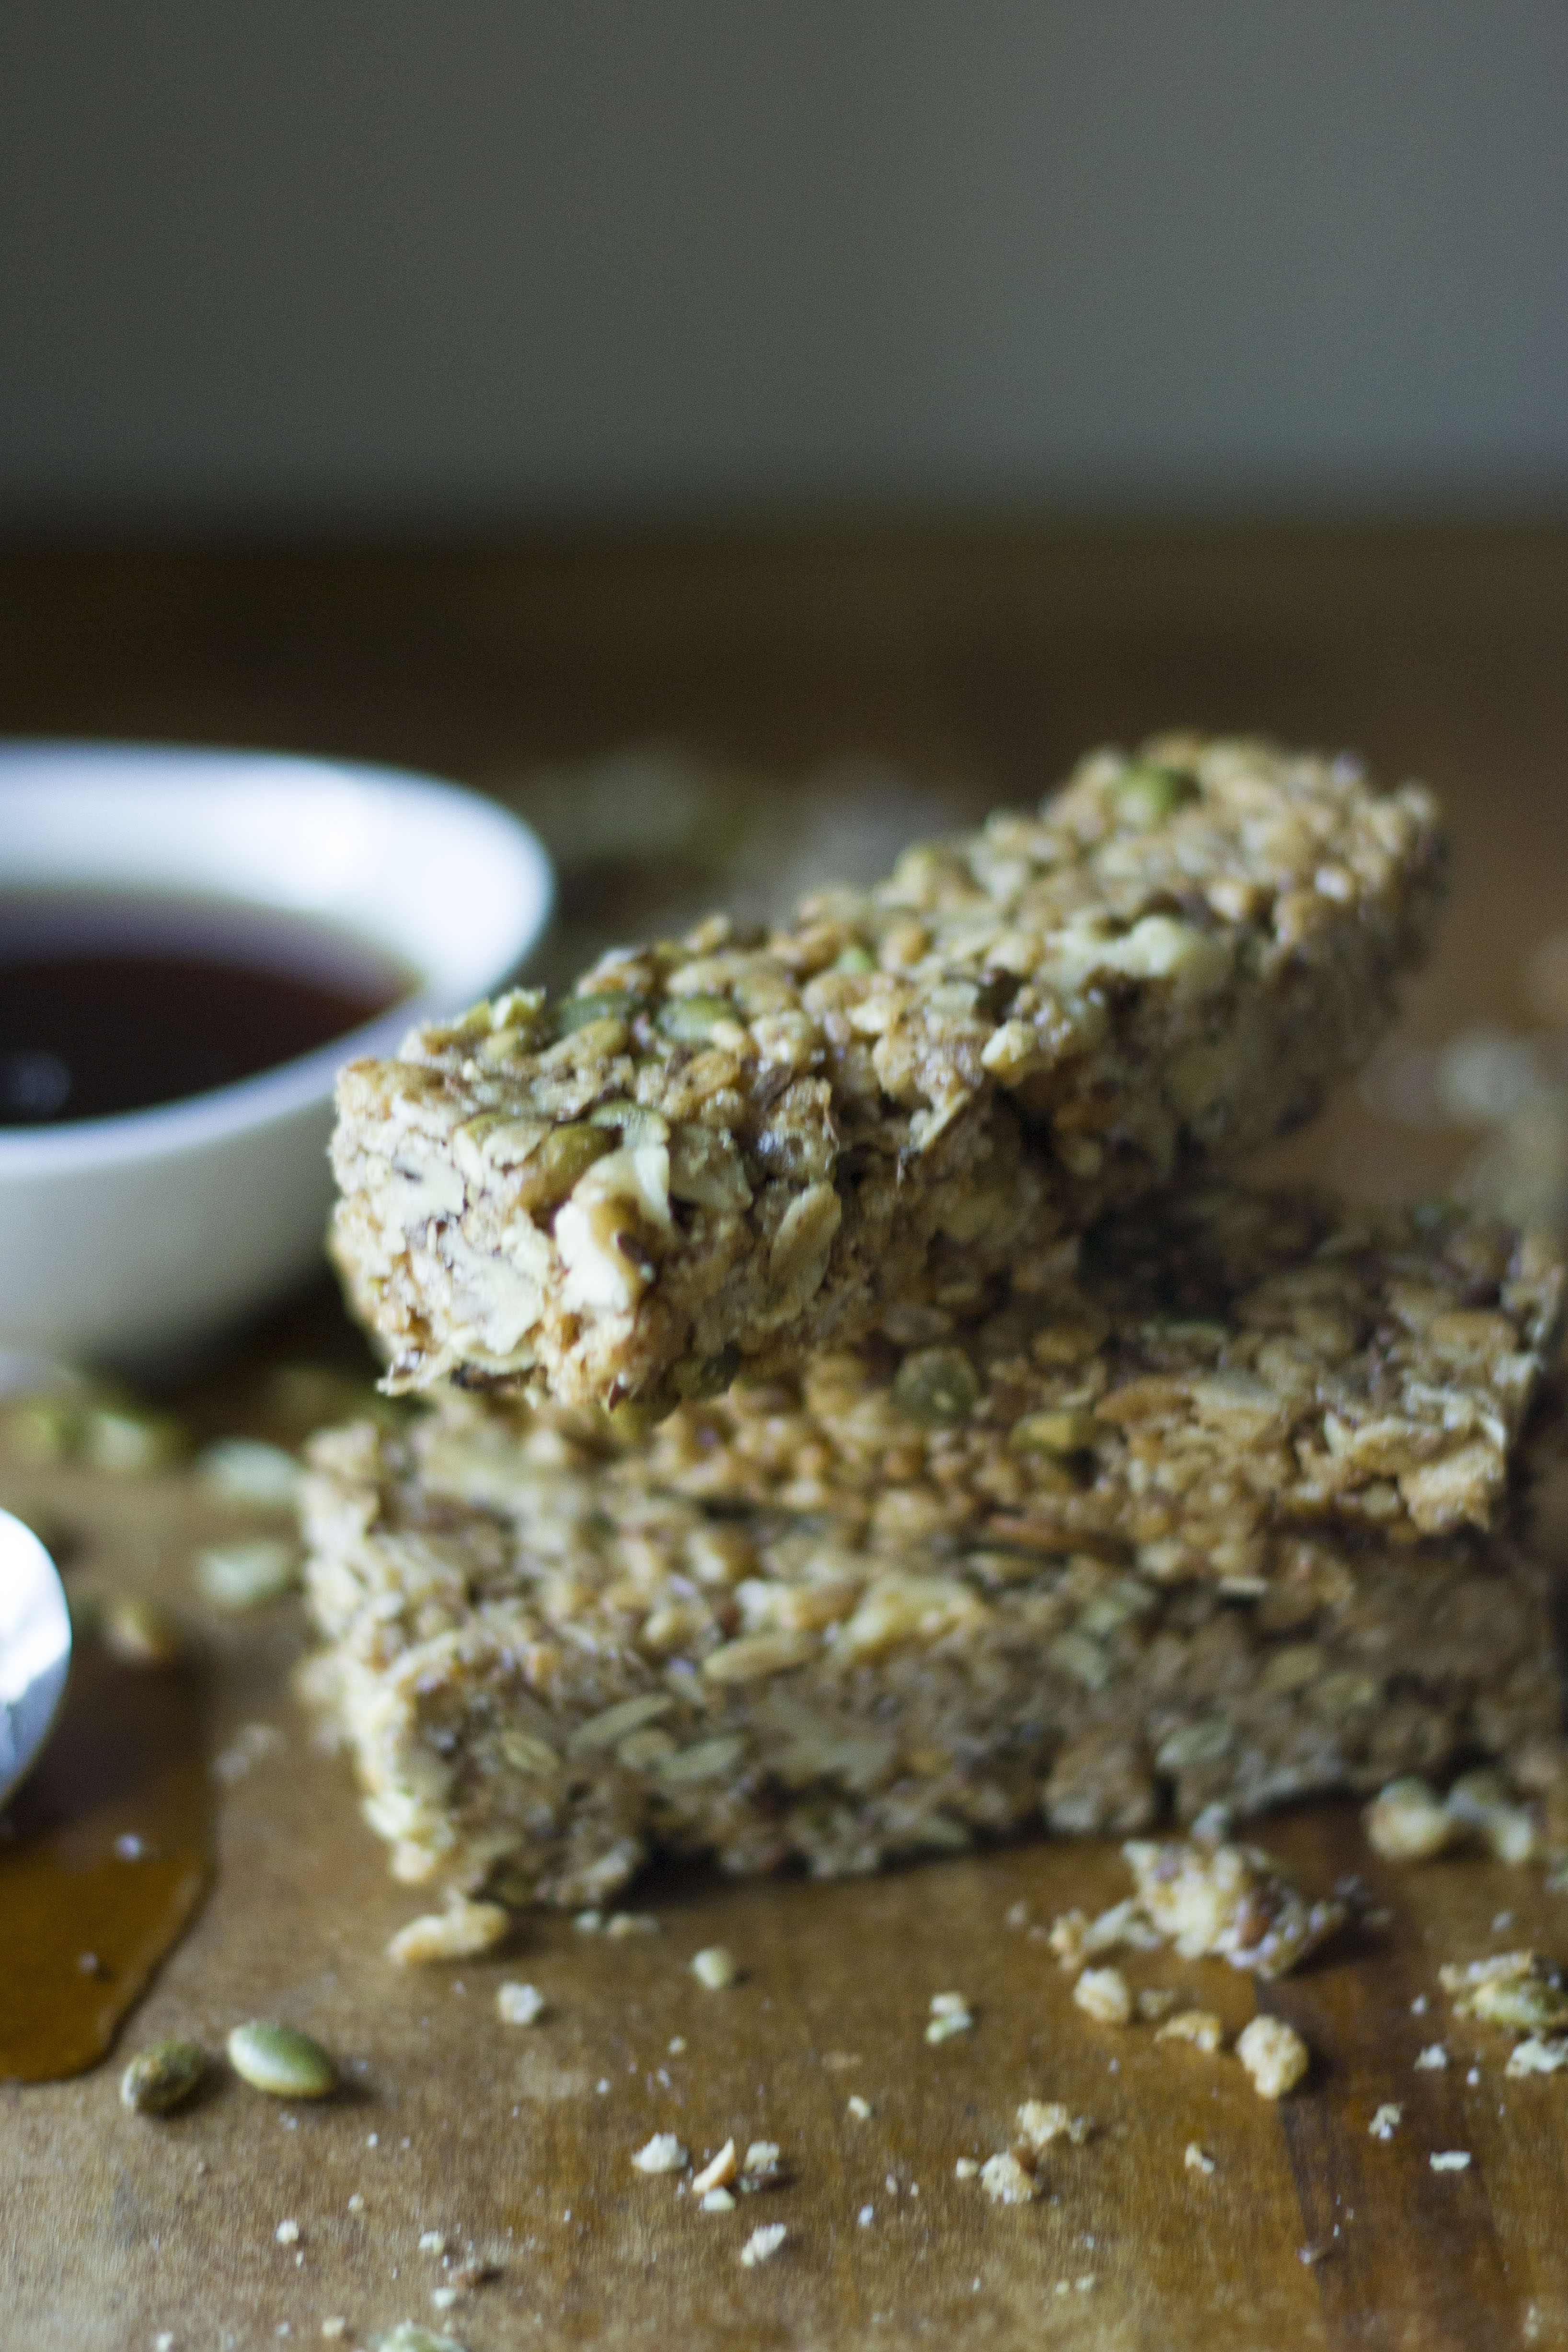
- Crisp yet chewy and gooey—granola bar sorcery
- Packed with fall flavors like pure maple syrup (Vermont! Look at me!), walnuts and pumpkin seeds
- Made in a jiff on the stove top, no baking here!
- Small-batch that makes six bars (in a loaf pan!)—perfect for one or two people without having to throw away stale bars that didn’t get eaten at the end of the week.
- All sorts of protein and fiber to get you through anything—including a move from Phoenix to Vermont that included three weeks of being what my friends called a “glorified squatter.”

- 1 cup crisped rice cereal (I use Barbara's—gluten and refined-sugar free)
- ½ cups oats (rolled or quick-cooking will work, and of course, I use gluten free!)
- ½ cup walnuts, chopped
- ½ cup roasted pumpkin seeds
- 2 tablespoons flax seeds
- 1 tablespoon amaranth
- 2 tablespoons coconut oil
- ¼ cup almond butter
- ¼ cup pure maple syrup
- 1–2 tablespoons unsweetened protein powder
- Combine all dry ingredients, except for the protein powder in a bowl and set aside.
- In a medium-sized pot or saucepan over medium-high heat, combine the coconut oil, almond butter and maple syrup whisking constantly until the mixture begins to boil. Turn off the heat.
- Add in your dry ingredients and stir until completely covered and evenly mixed.
- Add in the protein powder one tablespoon at a time—all protein powders are different and you don't want to dry out your mixture to the point of it being crumbly, so if one is all you can get in while maintaining a sticky mixture, that's fine.
- Press evenly into a greased or parchment-lined loaf pan (the small size is perfect for making just a few bars to avoid waste or stale bars) and set aside to cool for at least one hour (you can also put these in the fridge).
- Once cool, loosen the edges with a knife and flip the pan onto a cutting board to release your bars. Cut into 6 servings and individual wrap each on with plastic wrap and place them inside a plastic bag or airtight container in the fridge or on the counter for a grab-and-go protein bar all week long!


Leave a Reply